A Modern Farmhouse Bathroom Makeover
Our friend, Megan, over at Life on Shady Lane recently renovated her bathroom with one of our freestanding copper soaking tubs and a new copper bath sink all-in-one kit with Pfister faucet. She has been so grateful to share all the amazing details in this modern farmhouse bathroom renovation reveal!
A modern farmhouse bathroom makeover –
it’s cozy, beautiful, and super-functional all at the same time
The.day.is.finally. HERE, you guys! Our upstairs bathroom is finished, and it only took us the better part of a year to do it. 😉 I am so, so, SO excited to share with you!
Yes, this project took us a loooong time. But, in all fairness, we do have two small kids to chase after, a blog to run, a house to maintain, and Brandon has a full-time job + runs Shady Lane Homes. Oh and right before we started the remodel, we came up with the bright idea to knock out a closet and expand the bathroom.
A HUGE thank you to Stainmaster, Sinkology, and Pfister for sponsoring this post!
And also a major thank you to my husband, Brandon, for making all of my visions for this bathroom makeover come to life. Without him, most of my blog projects wouldn’t be possible! I am always amazed at how he is able to take what I envision and turn it into reality. He’s a keeper, guys. 😉 This bathroom turned out even better than the one I pictured in my mind before we began.
(FYI: I’m sharing a source list at the bottom of this post if you don’t feel like searching through for links!)
Let’s just take a short walk down memory lane, shall we? Here’s how the bathroom looked when we moved in:
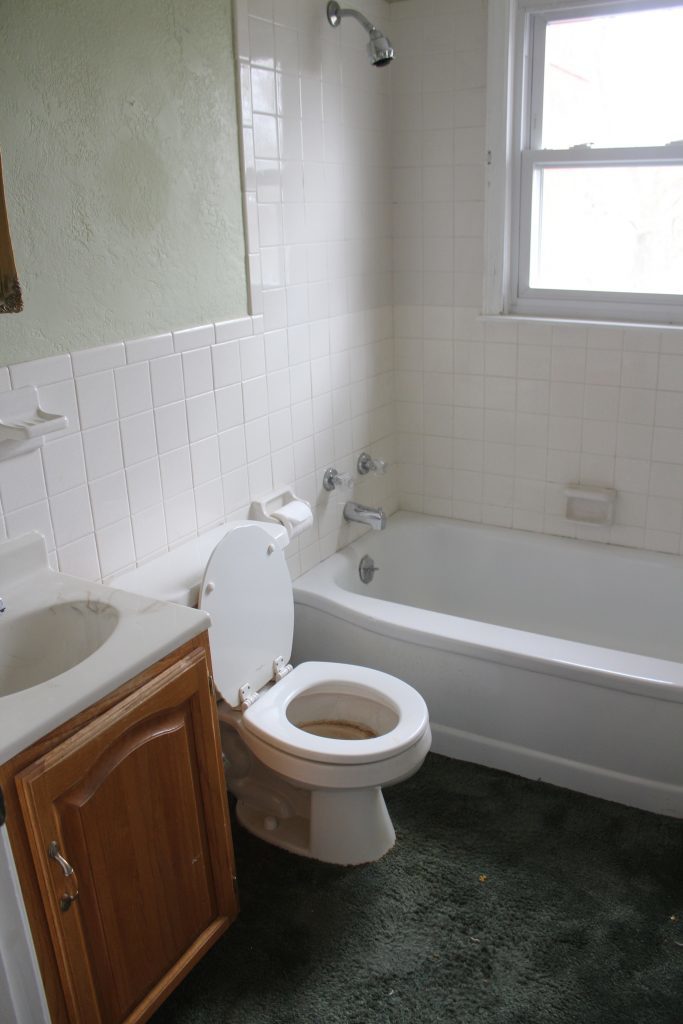
Green carpet, a toilet from hell…it was bad, guys. So bad that we never even used it. It just sat upstairs, untouched, for months before we started the remodel. You can see more before photos [here].
Like I said, we made the decision to knock out a bedroom closet so that we could expand the bathroom – it was just too small as-is. So, that really slowed the whole process down BUT I am so glad we did it!
The demo stage was a little terrifying. Our bathroom was gutted completely down to NOTHING – I’m talking visible floor joists and roofing. Here’s a picture in the middle of demo:
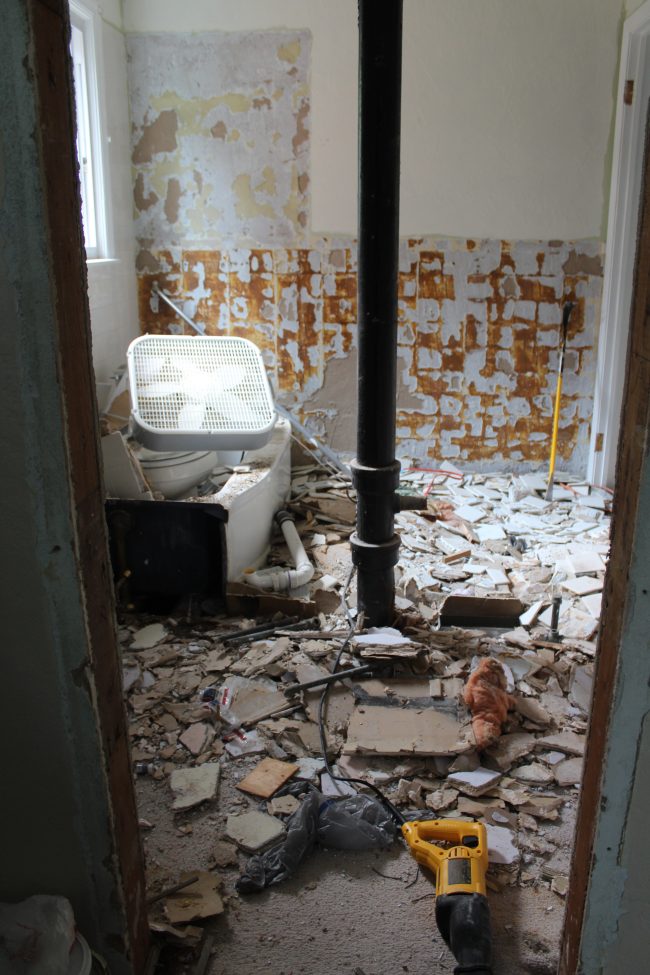
Check out more photos from the demo stage [here].
You can see my original plan for the bathroom [here]. I made a few changes and shared all of my selections [here].
It is the coolest thing to see a design board come to life. The bathroom turned out exactly as I had pictured…actually, it’s even better. It’s bright but cozy, full of charm, and full of things I love: warm woods, white shiplap, and some greenery. Seriously it’s the bathroom of my dreams.
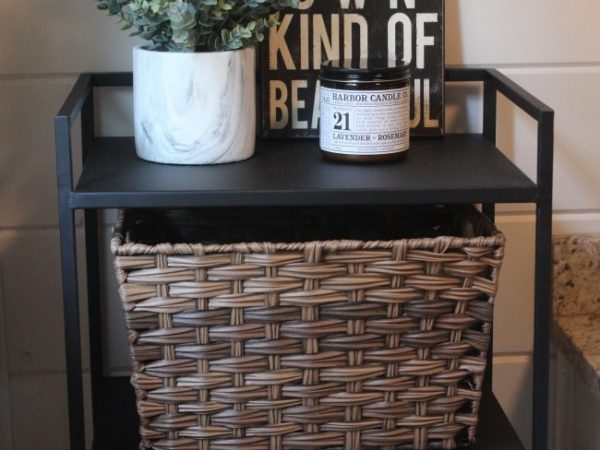
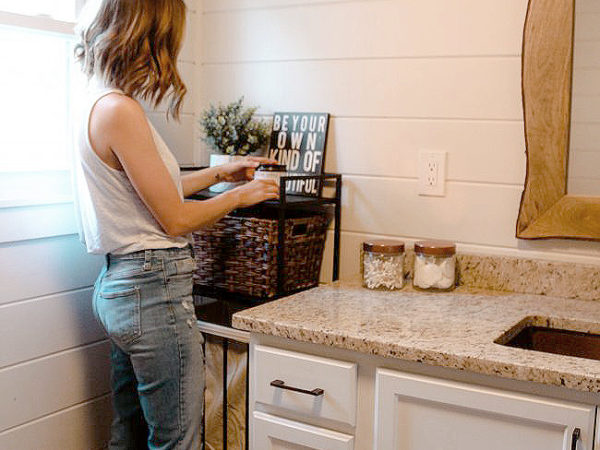
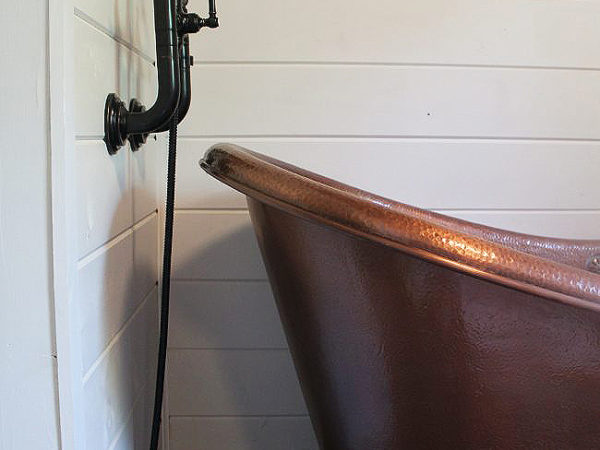
Our insane copper tub is the Euclid from Sinkology, and to say I am obsessed would be putting it lightly. It is HUGE – Brandon’s one request when picking out a tub was that we get one he could fit in (he’s 6’3″). And this one totally fits the bill. It’s beautiful, too…and I knew it would definitely be the focal point of the room, so I wanted to keep the wall above it simple. I don’t want anything taking away from the tub’s gorgeousness!!
The faucet we used for our tub (have you ever seen a prettier one?!) is the wall-mounted Tisbury from Pfister.

When I envisioned the space during the design (dream) stages, I really pictured a rain shower head that came straight out of the ceiling. There was a point during the remodel where I thought we wouldn’t be able to do it, but everything with the plumbing worked out and it looks exactly as I had imagined it would.
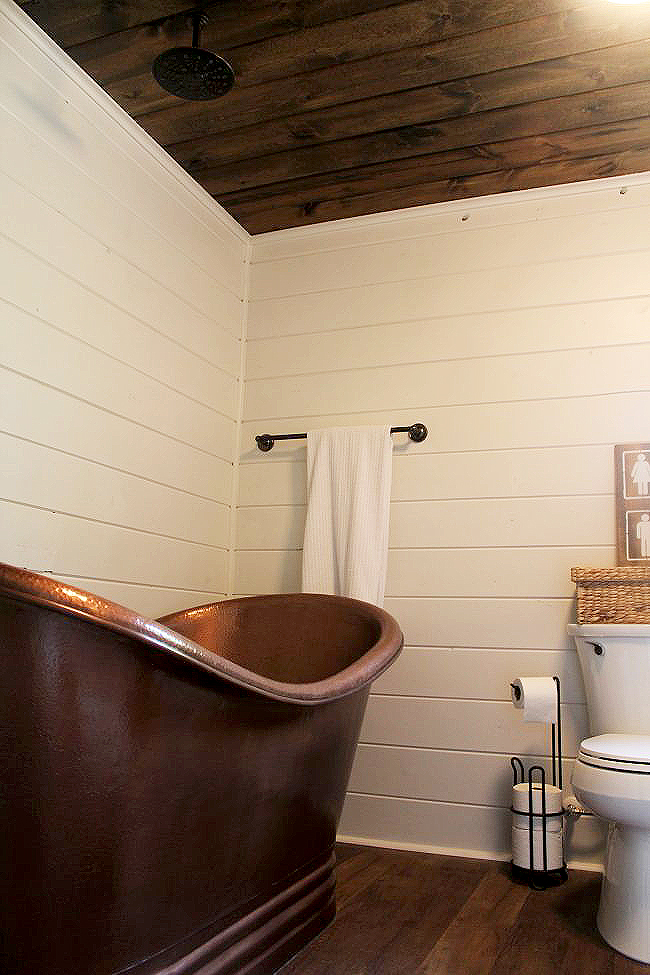
We used this shower head – it’s big and really inexpensive. I love it! We are eventually going to put up a shower curtain rod, I think, but haven’t been able to find one yet that I love. So for now, we wait. Sometimes it’s best to take things slowly when designing/remodeling so your project turns out exactly as you want it to, IMHO! 😉
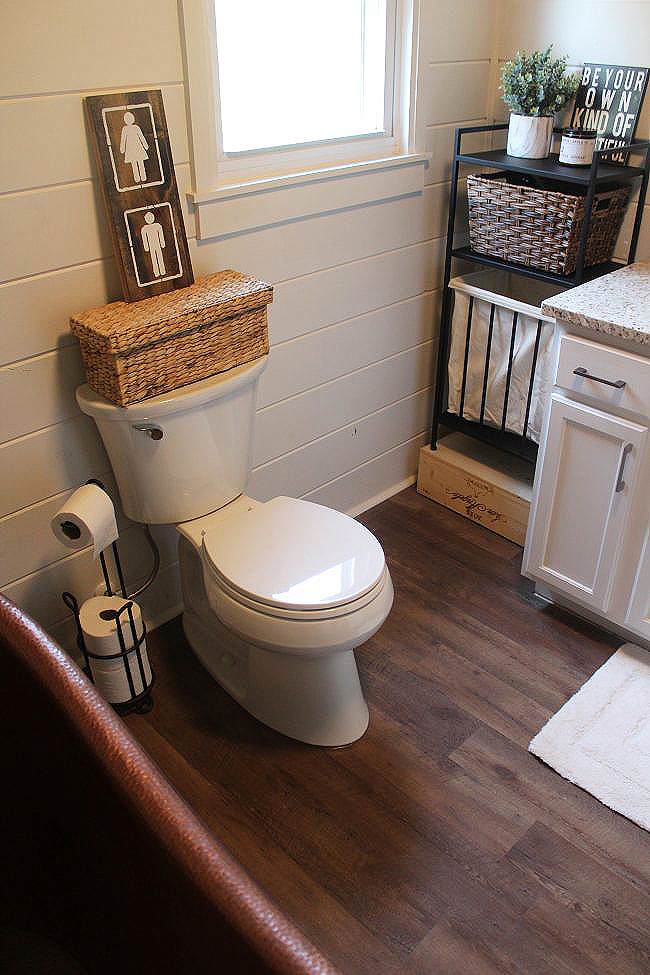
I knew right away that I wanted white shiplap and wood-look flooring in the bathroom. I wanted the space to feel cozy…and I think that a lot of times bathrooms don’t feel that way because they typically used cool-hued tiles. Installing real hardwoods wouldn’t be practical, though, because…hello, lots of water. And also it would have been really expensive. SO we used a luxury vinyl tile from Stainmaster (I picked the color “long beach”!). I really love the way it warms up the space and is water-friendly. It was extremely easy to install, too.
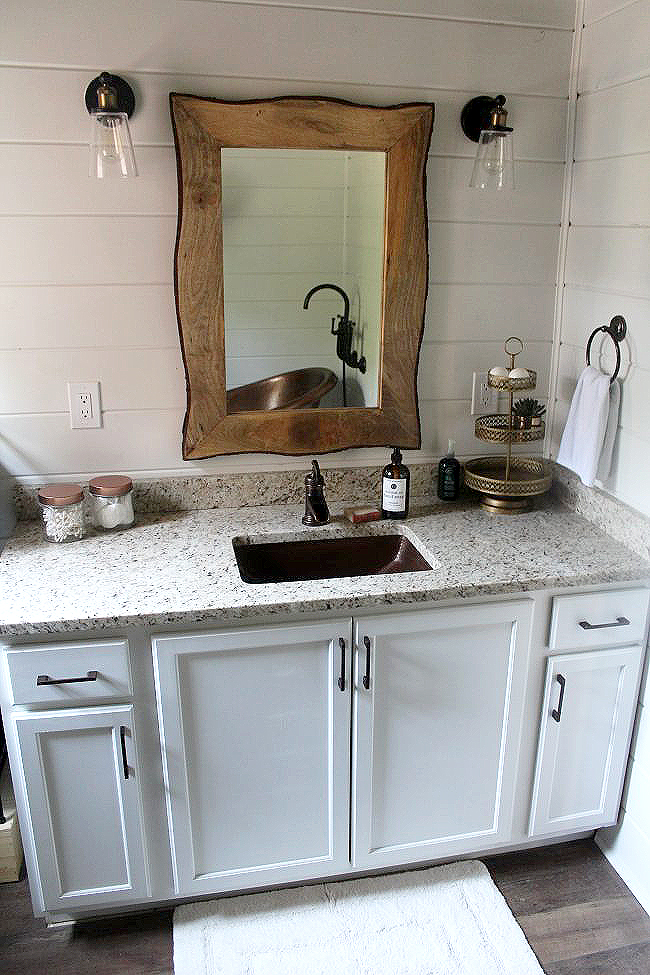
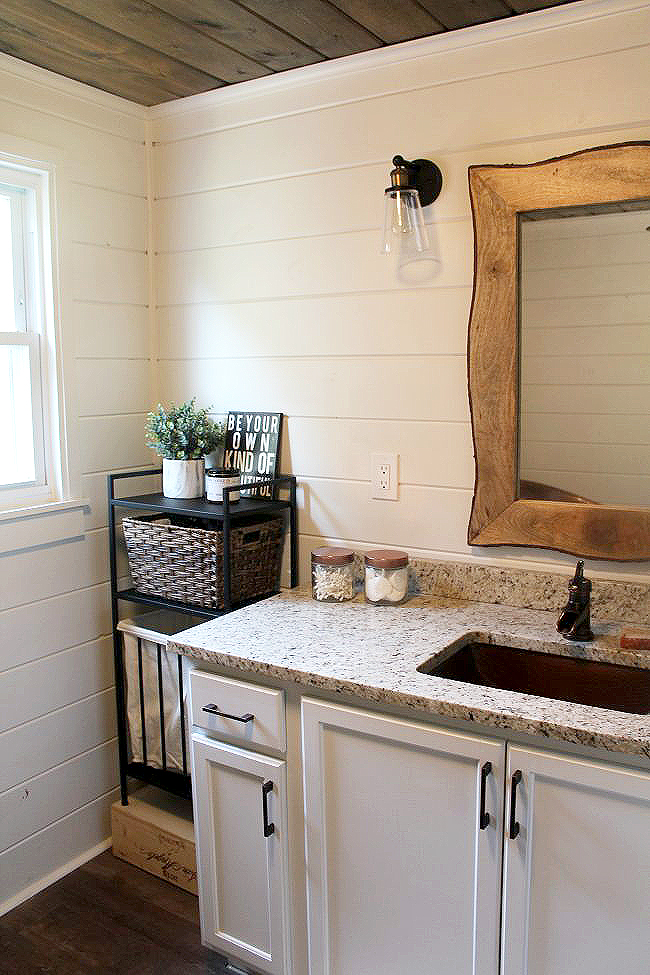
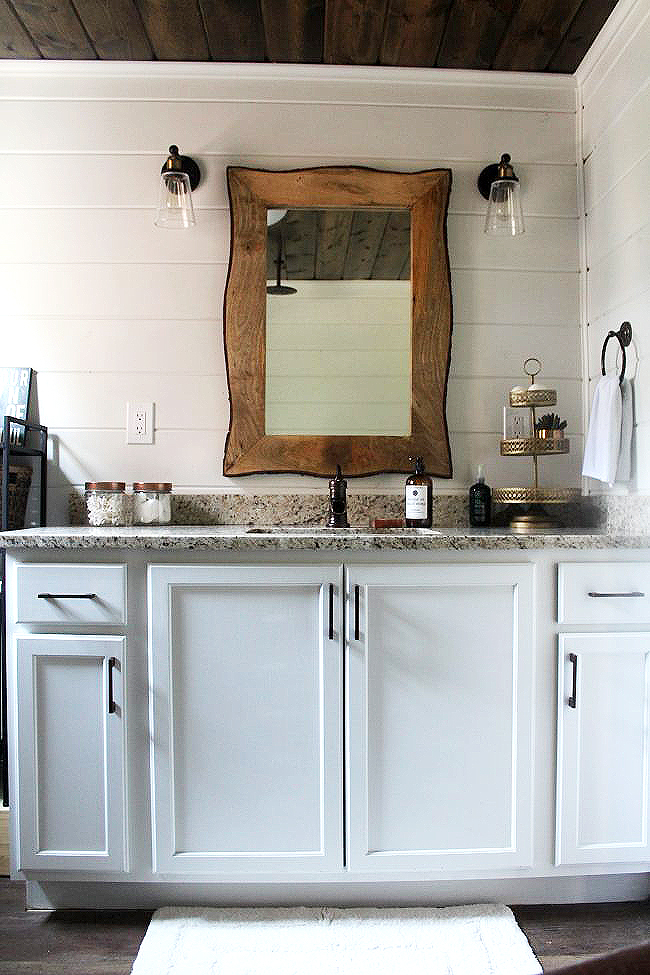
Our vanity was actually a “mistake” – Brandon went to pick it up and realized as soon as it was in the bathroom that it was intended to be used as a kitchen cabinet. Did you know there was a difference?! Neither did I. A kitchen cabinet is 6″ deeper than a bathroom vanity…and I’m glad we made the “mistake!” Who wouldn’t want more counter space, if you’ve got the room for it. You know what I’m sayin’?! A little extra counter top never hurt anyone. I painted it white so it wouldn’t detract from the white shiplap walls and I really love the way it turned out.
I considered using quartz or marble in the bathroom, but decided on a granite with flecks of brown and black because I was going for warmth. It ties in perfectly with the copper and warm woods!
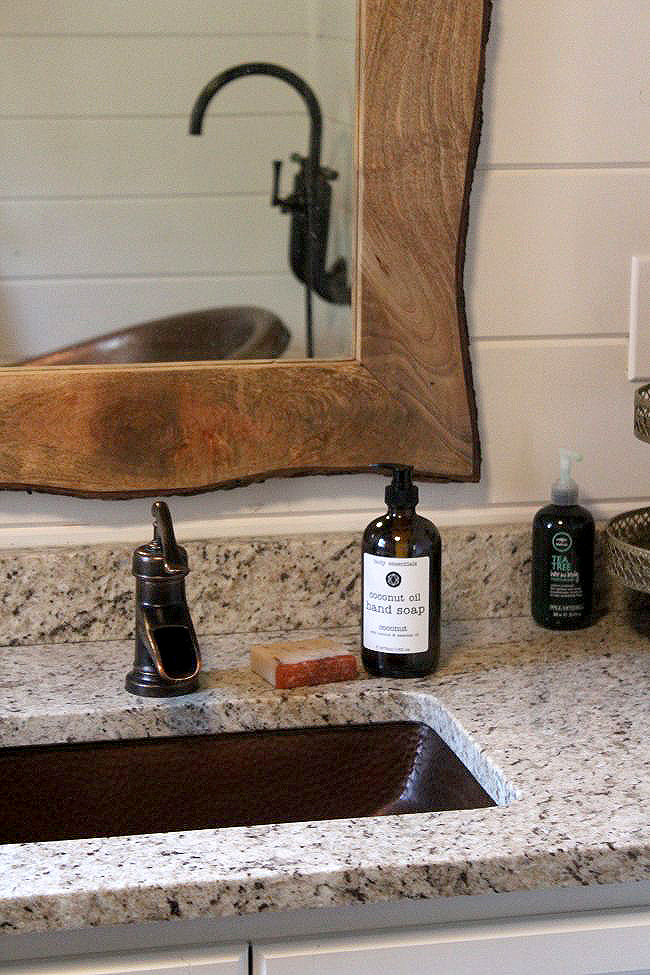
Our copper sink is the Curie from Sinkology, and the faucet is the Ashfield from Pfister. We went with the “all in one” kit to keep it simple – the sink and faucet pair so nicely together, and I love how water flows out of the faucet. It’s unique without being overdone.
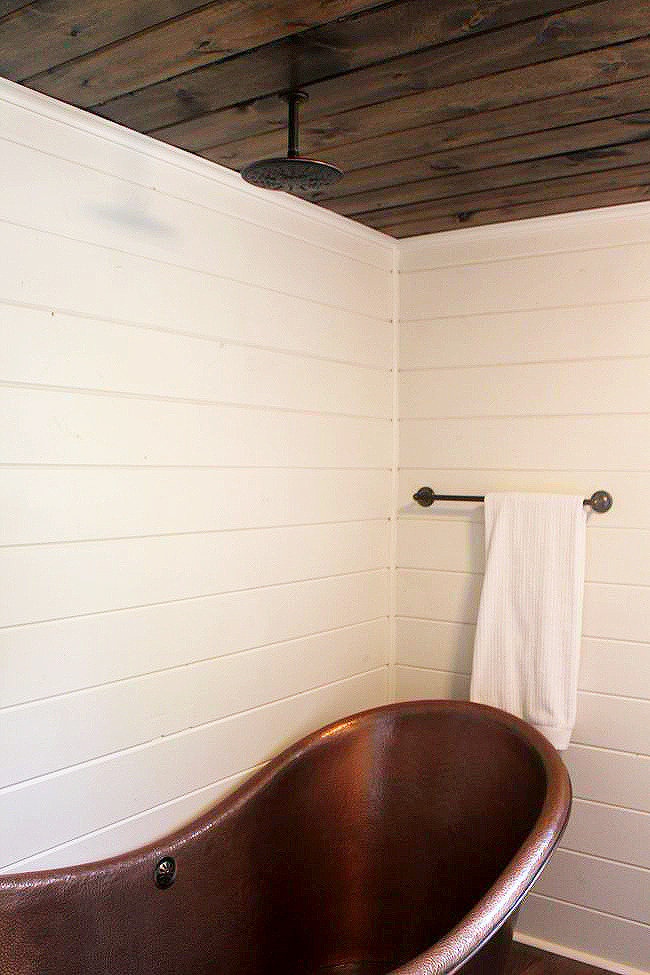
Our ceiling is the exact same material we used on the walls – these tongue and groove boards. I’m planning on sharing a tutorial for how we did it soon, so I’ll update this post when I do!

I made the male/female bathroom sign with this stencil. The window placement makes decorating the wall above the toilet a little challenging, so I wanted something that was tall and narrow to fit in the space. I love the way the sign turned out, and it was super simple!

SOURCE LIST
If you missed any of my previous posts about our bathroom remodel, you can check them out here:
Affordable (and pretty!) Bathroom Faucets
Vintage Modern Farmhouse Bathroom Plan
Upstairs Bathroom Flooring, Paint, Tub, and Sink Selections
Upstairs Bathroom: Shiplap, Tub, Flooring, and Vanity
Upstairs Bathroom: Countertops and a Copper Sink
Thank you SO MUCH for following along on this bathroom remodel journey! It has been a long time coming, and I really appreciate you reading and staying tuned. If you have any questions at all, please just let me know – or shoot me an email!
-Megan
If you have any additional questions during your search for the perfect copper or fireclay sink, our Sinkologists are here to help. Contact us or follow us on Facebook, Houzz, Pinterest, or Instagram for more helpful tips and design ideas.