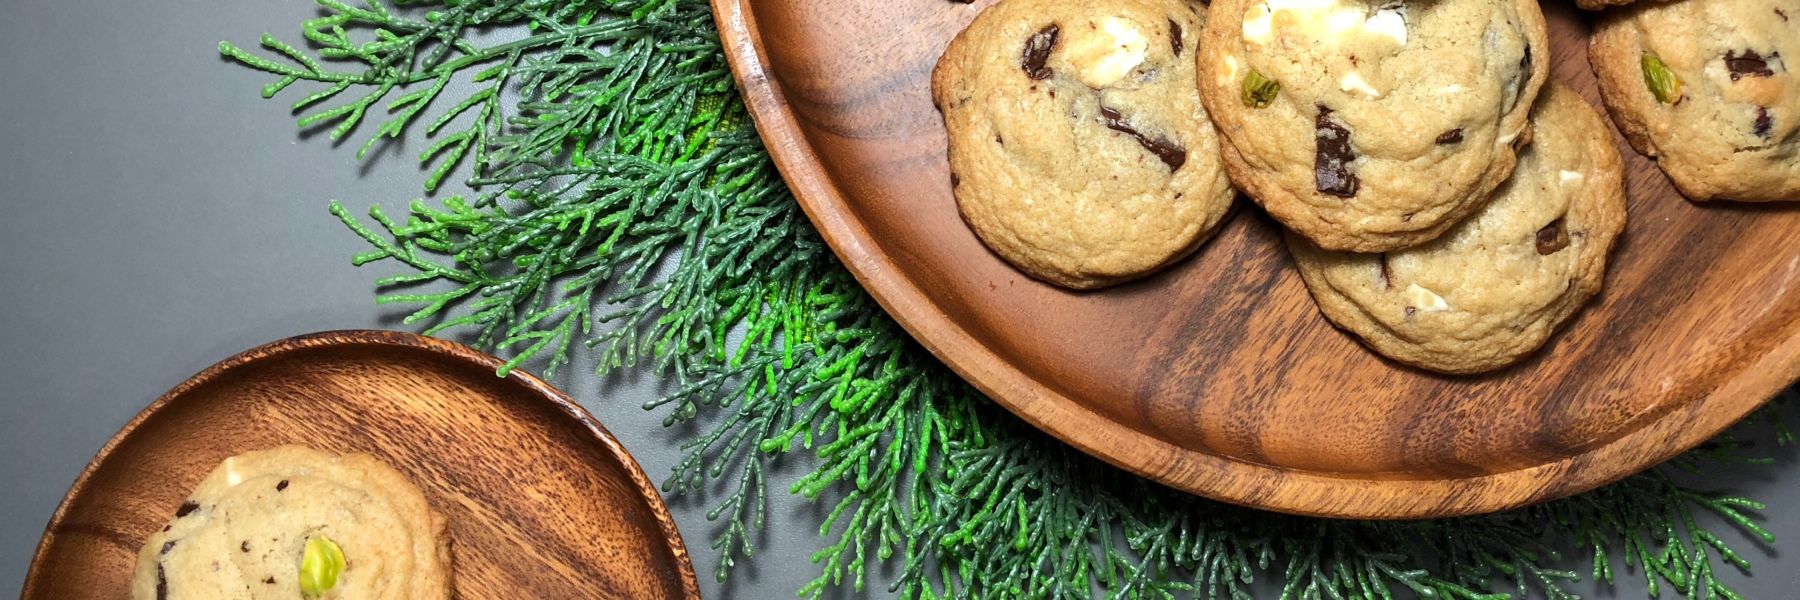
Kitchen Sink (Ology) Christmas Cookies Recipe
Christy, Sinkology’s food-loving recipe blogger, is here to share some recipes she has created for the Sinkology blog that reflect our view of a copper sink: simple, timeless, affordable, and beautifully rustic.
Christmas is my favorite time of the year and one reason why is because it’s baking season! There is something about the holidays that brings out the baker in everyone, especially when it comes to cookies. I like to bake a variety of different types of cookies so we have a good assortment to enjoy throughout the month and of course, share with our loved ones and friends. I know I’m not alone in this sentiment.
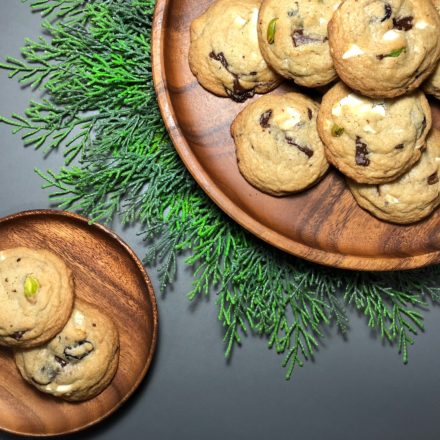
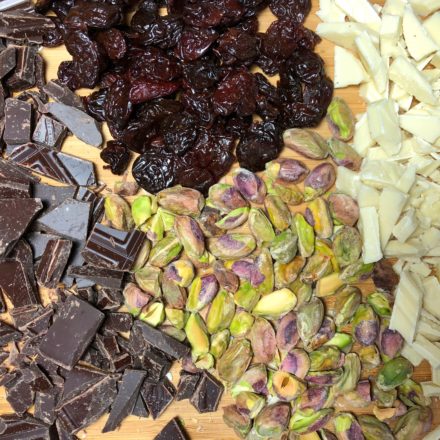
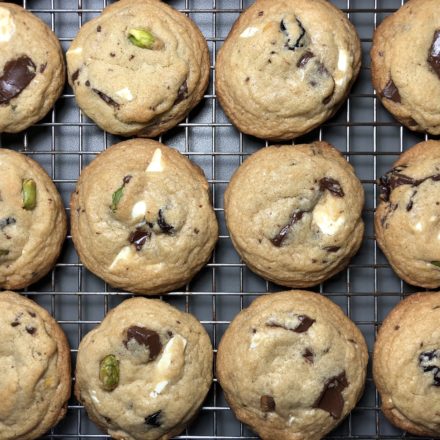
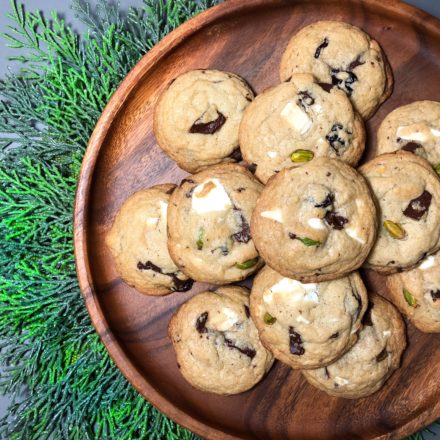
I thought what a perfect time to come up with a signature cookie that represents Sinkology as a company. Of course, with the name Sinkology, I knew I had to concoct a “kitchen sink” type cookie. No brainer there but it couldn’t be the run of the mill one. I chose each add-ins carefully to enhance the cookie flavor profile. Sinkology is best known for their unique copper sinks which are handmade and rustic, a little fancy but still attainable, beautiful yet practical, and the crown of the room. The bitterness of dark chocolate, creaminess of white chocolate, tartness of cherries and earthiness of pistachios nestled in a chewy and familiar toffee-flavored cookie base come together magically to create Kitchen Sink(Ology) Cookie. I hope it is worthy of the name!
I would like to wish each and every one of you all the happiness and joy of Christmas. Enjoy being with your loved ones and friends and of course, eat lots of cookies!
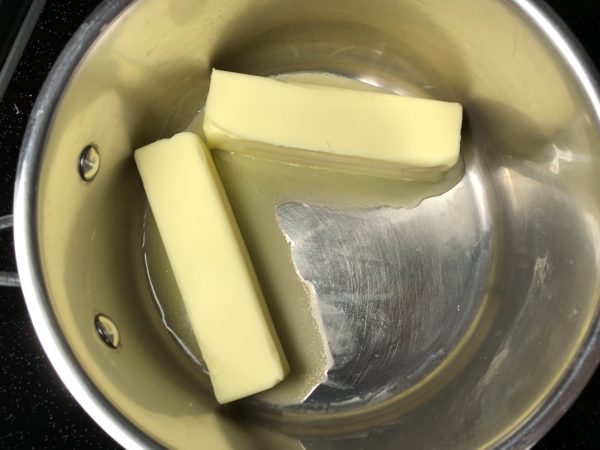
Let’s get into the Christmas spirit and start baking cookies! First, melt two sticks of butter however you want. I usually microwave in a Pyrex measuring cup but this time, I actually melted on the stove. Set aside.
In a small bowl, add the bread flour, baking soda, and salt. Bread flour is used for this cookie recipe as it yields a thicker cookie with a crispy edge and soft, chewy middle. The bread flour has more gluten than all-purpose, which contributes the chewiness. I highly recommend weighing the flour for consistent and optimal results. I used Alton Brown’s "The Chewy" as my dough base as he knows what he’s doing.
Not all salt is equal. For a long time, I was perplexed why my baked goods tasted very salty when I used the amount stated in the recipe especially recipes from professional bakers. I did a bit research and discovered that many professional bakers use the Diamond Crystal brand kosher salt which is half the saltiness of Morton’s brand kosher salt. I had my "ah-ha" moment and that is why I’ve included both amounts in this recipe. A little lesson there!
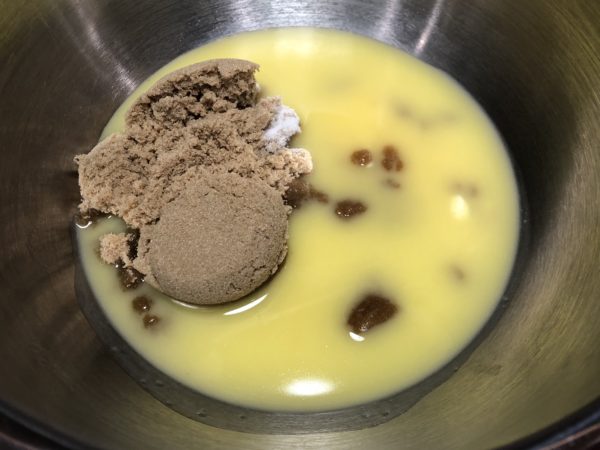
In a mixer bowl, add both granulated and brown sugar. Pour the melted butter over the sugar and beat on medium speed for 2 minutes. Scrape the sides of bowl occasionally.
Add the egg, egg yolk, milk and vanilla extract. Beat on low speed until incorporated. Do not beat more than necessary, as you don’t want to whip too much air into the dough resulting in flatter cookies. The extra yolk and milk both contribute to the softness of the cookies.
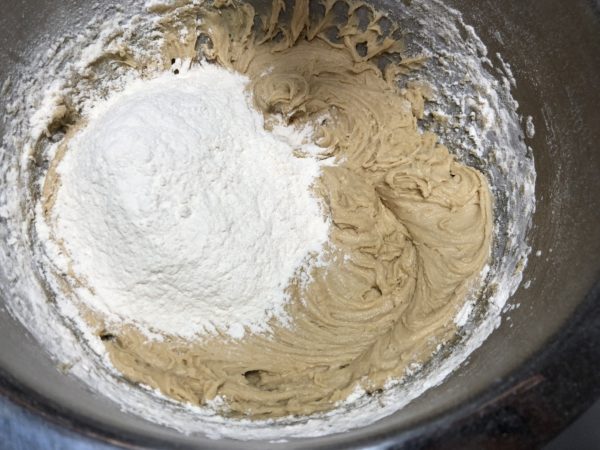
Add the flour mixture in two parts, mixing on low after each part. Scrape the sides of bowl occasionally. Again do not over-mix. The dough will be very soft and slightly gooey.
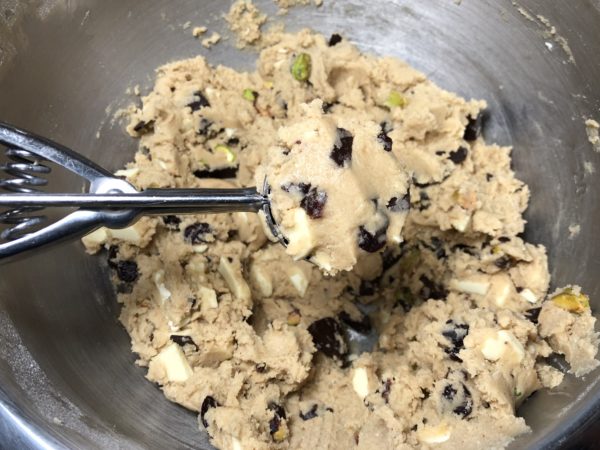
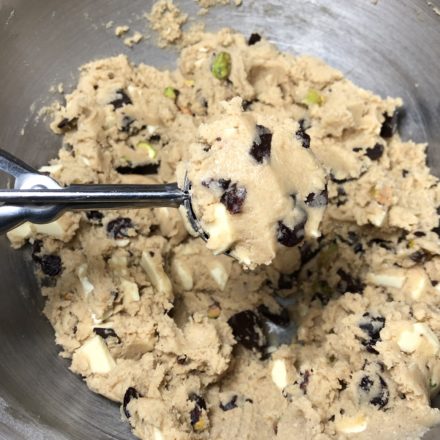
Here comes the fun part! Dump all the yummy add-ins: dark chocolate, white chocolate, dried cherries, and pistachios. I like to have them all equal amounts but feel free to add more of one or other as long as the total combined is 2 cups worth.
Stir add-ins until combined.

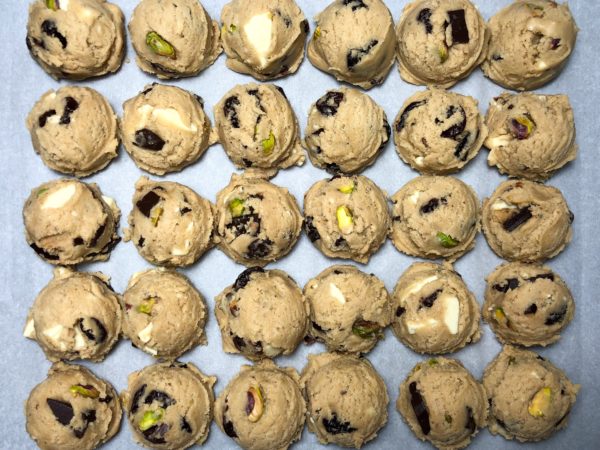
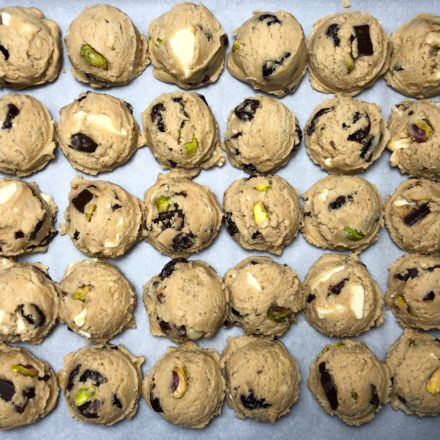
You can do one of the two things: scoop all the cookie dough with a scooper and place on a tray or leave the dough the bowl, covered with saran wrap, to chill for 30 minutes. I use my #40 cookie scooper, which is about 1½ tbsp. I find a short chilling time helps the gluten develop a little more and keep the shape of the cookie better. However, you can chill longer but add a few more minutes to the baking time. I’m too impatient to wait longer.
Preheat the oven 375 degrees with the rack in the middle. For best result and even baking, one sheet should be baked at a time. Line the baking sheet with parchment paper or a silicone mat. I can fit 8 dough balls on my sheet.
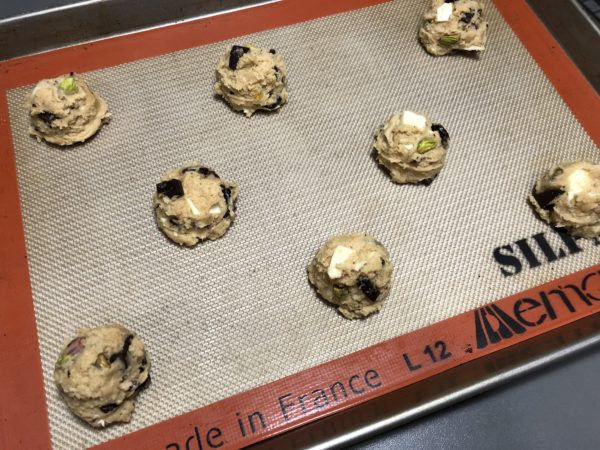
Bake for 10-12 minutes until the edges are golden brown and the middle is lightly browned. My cookies were done in exactly 10 minutes. You don’t want to over-bake or they won’t stay soft and chewy.
Let cool first but honestly, who can wait? Enjoy and don’t forget to share with everyone!
Makes about 30 cookies. Store in airtight container for several days. Scooped raw cookie dough can be frozen for up to a month.

For more recipes from our copper-loving foodies, check out our blog. If you have any questions about copper or copper sinks, our Sinkologists are here to help. Contact us or follow us on Facebook, Twitter, Houzz, Pinterest, or Instagram for helpful tips, recipes, and design ideas.