Easter Egg Centerpiece with Copper Accents
Easter is less than a week away! Hopefully, you’ll be wrapping up your shopping and decorating this week and preparing for that big holiday gathering! Whether you’re having hot cross buns and ham or just a giant bowl of Peeps, chances are you’ll also be coloring Easter eggs.
If you have a copper sink in your kitchen, your guests are going to notice. That’s why, this year, we’ve created an Easter centerpiece that will help pull the beautiful copper color through your holiday decor. Combining lovely spring elements like flowers and Easter eggs with these copper tones creates an impressive table centerpiece that calls back to the centerpiece of your kitchen. In order to color our eggs, we used copper paint on some, and we colored the rest with beets to get a nice soft, earthy pink.
While this large centerpiece might look intimidating to try and tackle, it’s actually a pretty simple copper craft! The hardest part is finding the right vases that will allow enough space to fit the eggs while still holding them up and consistent with each other. For our centerpiece, we used the following ingredients.
What You Need:
- 3 dozen eggs
- Metallic copper paint
- Paint brush
- 6 beets (minimum of 4 cups)
- 2 tbsp. of white vinegar
- 1 tsp. of salt
- 4 cups of water
- Large wide vase
- Small thin vase (to fit within the large vase)
- Spring flowers
Step 1: Prepare your Eggs
The first thing you need to do is hard-boil your eggs. Simply place your eggs in a pot and ensure they are covered with cold water by about 1 inch. Bring the pot to a boil over medium-high heat, then cover. Once boiling, remove the pot from the heat and set it aside 8 to 10 minutes to allow the eggs to cook. Drain the pot and cool the eggs in ice water. Separate the eggs into about 3 equal groups: one group to paint copper, and 2 groups to dye varying shades of pink.
Step 2: Dye your Eggs
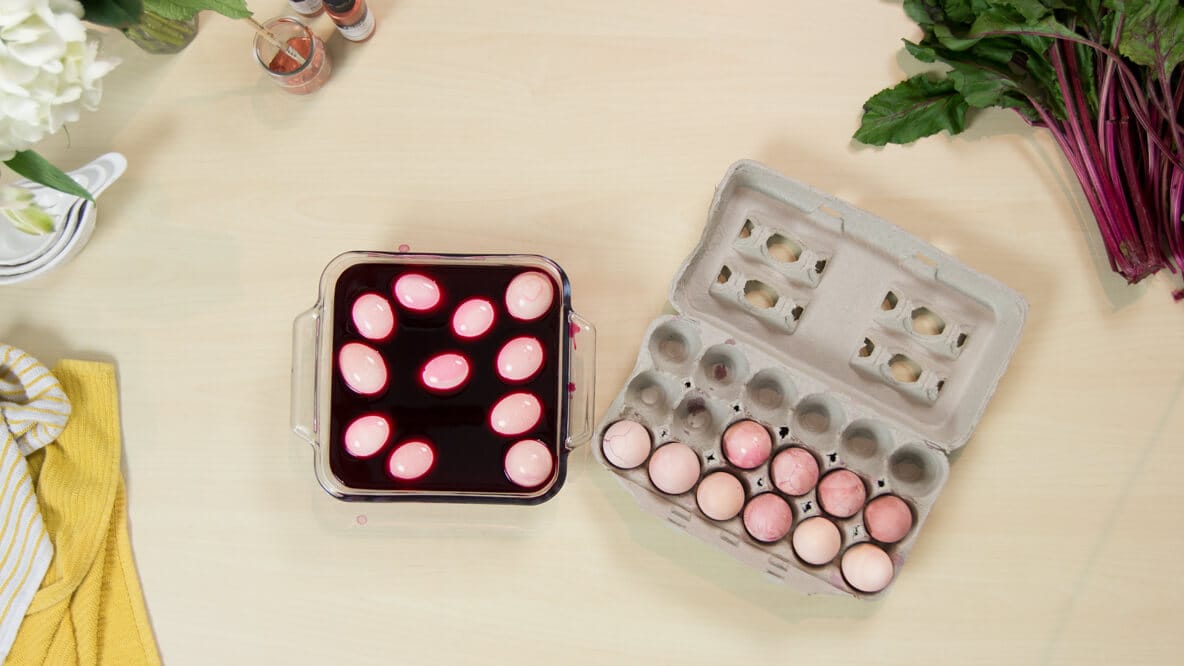
Beets can be pretty messy and can stain your hands. You’ll want to make sure that you are wearing gloves for this part! Peel the beets first, then chop them into little chunks. Put the 4 cups of water into a saucepan and bring it to a boil. Once the water is boiling, add the beats and the vinegar.* Simmer for between 25-30 minutes. Remove the beets with a slotted spoon, leaving just the dyed water.
*For a deeper color, add an extra splash of vinegar.

Place the eggs in the water that you dyed with the beets while it is still a little warm. Vary the length of time the eggs spend in the dye bath. Depending on how many eggs you can fit in your container, you may dye 2 groups or more. Ensure that the eggs are fully submerged. For this project, the dye times ranged from 5 minutes to almost 24 hours. The longer the eggs stay in the dye, the darker they will become. Once desired color is achieved, remove the eggs and allow them to dry.

Step 3: Add Copper Accents
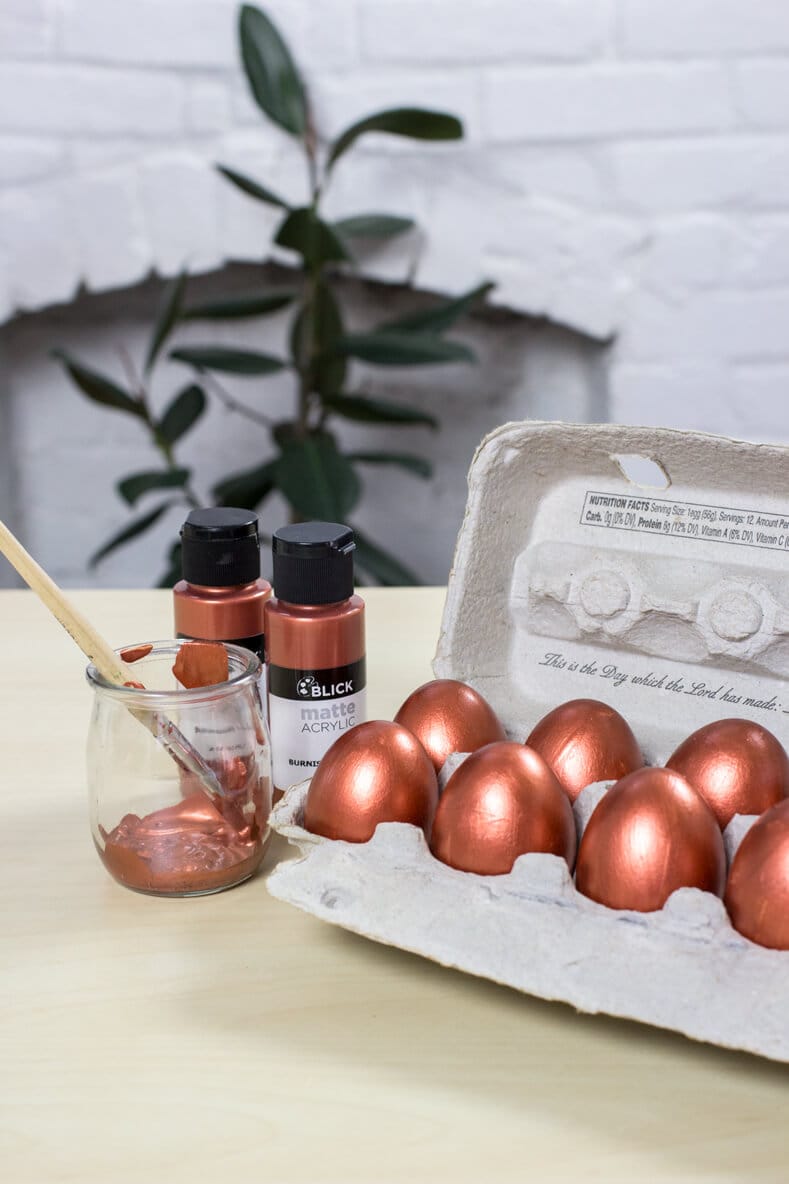
Paint the group of eggs that you set aside with the copper paint and let dry. We used a matte acrylic paint, but there are spray paints and glossy paints that work great as well. It’s up to your personal preference!
Step 4: Assemble Your Centerpiece
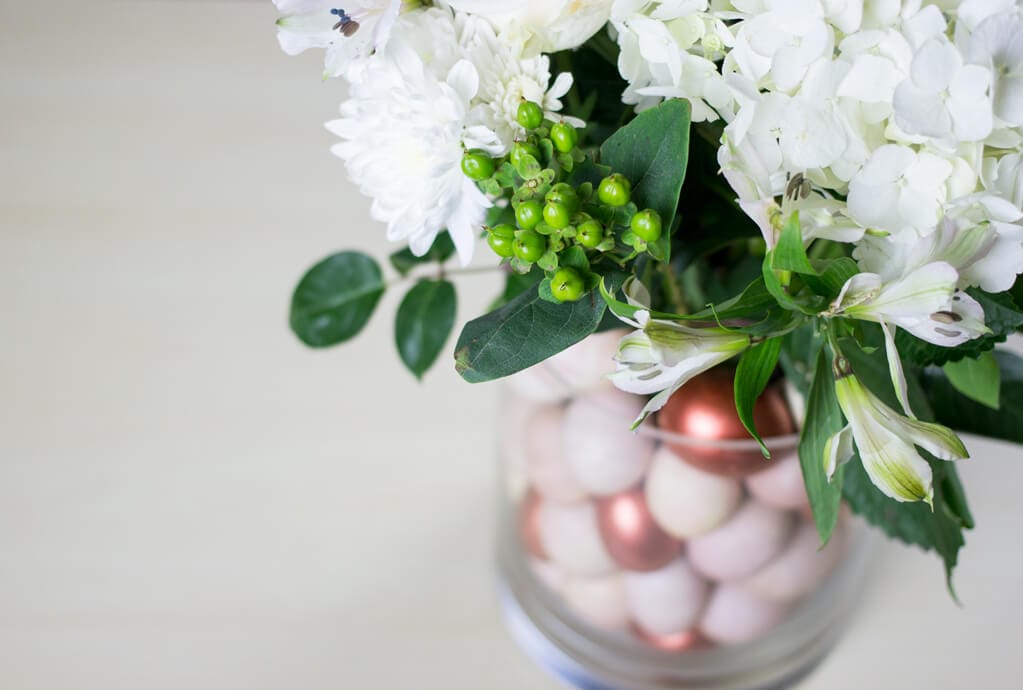
Add water to small vase and place in the center of the large vase – ensure there is enough space between the large vase and the small vase to fit a full hard-boiled egg. Place the eggs into the gap between the small vase and the large vase, mixing the copper eggs with the dyed eggs. Add flowers to the small vase in the center.
And you’re done! Have a happy Easter and a beautiful spring!


NOTICE: No rabbits were harmed in the making of this video! Pepper is a domesticated bunny who lives in a loving home. If you are considering adopting a rabbit as a pet, remember that they are a 10+ year commitment; not an Easter toy. For more information about rabbits as pets, visit the House Rabbit Society website at http://rabbit.org/. Buy a toy bunny for Easter, adopt a pet bunny for life.
You Might Also Like:
If you have any additional questions during your search for the perfect copper, fireclay farmhouse sink or crafted stainless steel sink, our Sinkologists™ are here to help. Contact us or follow us on Facebook, Houzz, Pinterest, Instagram, or TikTok for more helpful tips and design ideas.