DIY Rustic Coffee Mug Rack
Sinkology is proud to present Kendra Williams, a home decor expert, DIYer, furniture refinisher, and busy mom as a guest blogger. Kendra runs the blog at Momtique and she is here to share some design ideas and inspiration around designing your home with copper and around your copper sink.
Whether you drink tea, coffee, or hot chocolate, you need to have a cute place to display your favorite mugs! This DIY Mug Rack is a very simple project with just a few steps. Here’s a list of what you’ll need to complete this project.
- 3 pieces of wood. I had several pieces of reclaimed wood from an old wine barrel that I knew were going to work perfectly. They were just the right size and had a great weathered look. If you don’t have any reclaimed wood on hand, new wood with a beautiful stain will give you the same look. Many home improvement stores will cut wood for you to any size you need.
- Two smaller pieces of quality wood to reinforce the back.
- Hooks and a drill.
The first step is to stain the wood if needed.
The second step is to reinforce the wood. Flip the wood over on to the back and line it up evenly. Place the two small pieces of wood on each side a few inches from the edges. If the wood you are using has even surfaces, this will be an easy step. Drill a screw into each plank. The wood I used was uneven and curved so the reinforcement wood pieces were not flush with the planks but it was still sturdy. Make certain you use just the right size screws so that they don’t go through the front. Flip the wood over and make sure it looks good.
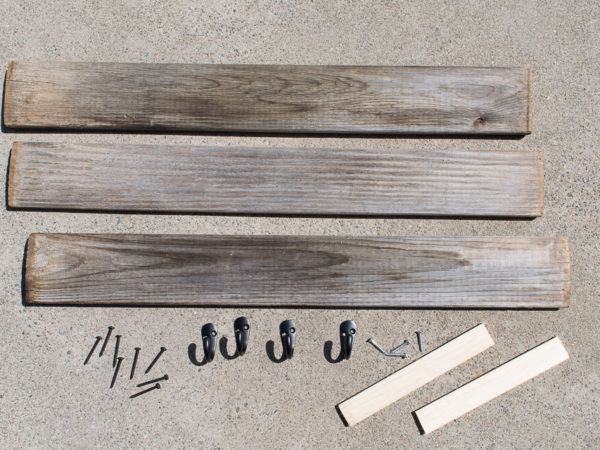
All you'll need to create this rustic farmhouse coffee sign.
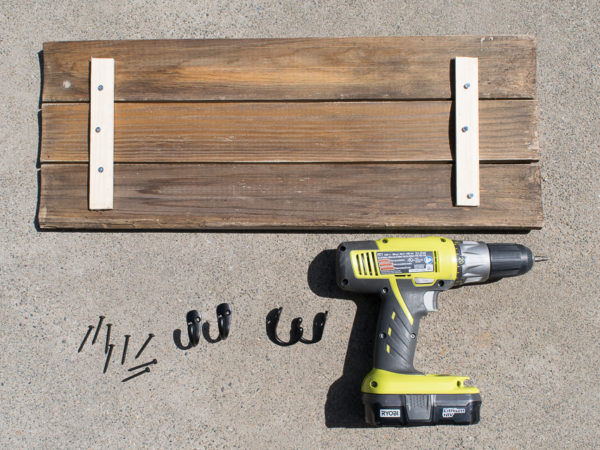
Stain wood if needed. Reinforce with small strips after lining up evenly.
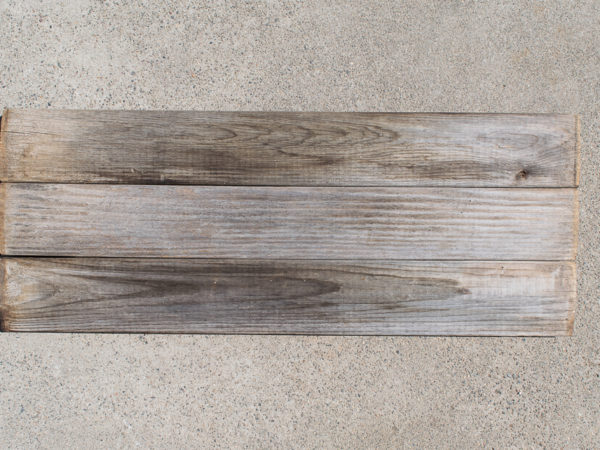
Flip it over to make sure the wood is straight and everything looks good.
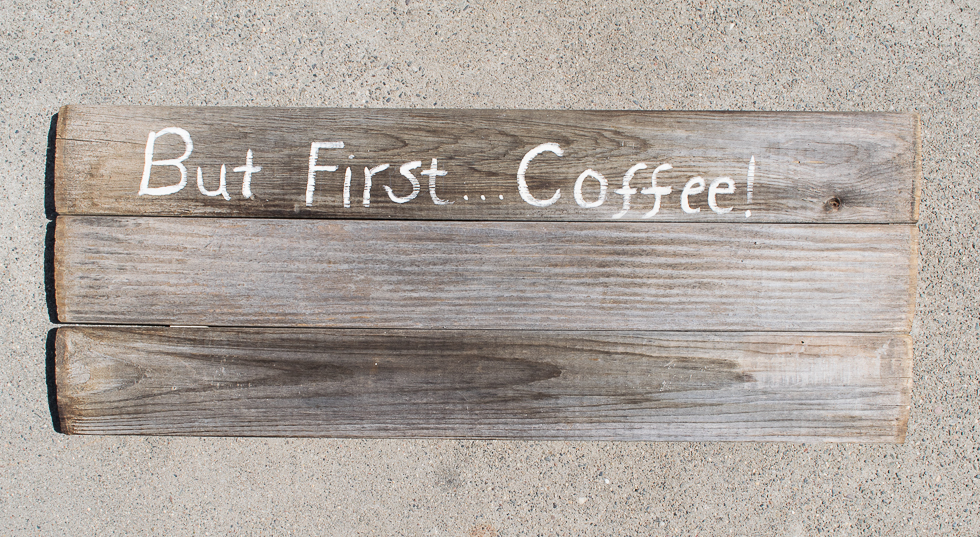
In my opinion, the next step is the most difficult. It’s time to paint your slogan. I wanted my coffee rack to say “But First…Coffee!” But you could personalize yours in any way. Some options are “COFFEE, COFFEE, COFFEE” “Drink me” or even “Good Morning, Sunshine!” I don’t have the best handwriting but I really don’t enjoy using stencils which meant, I had to freehand this sign. It’s obvious that I did it by hand but if I wanted it to look perfect I should have bought one, right?
The final step is to screw on the hooks. Make sure you leave enough space between each hook so that the mugs can fit without hitting against each other. The hooks that I bought came with very long screws and I had to replace them with smaller screws. The smaller screws were silver so I ended up using a permanent marker to help them blend with the black hooks.
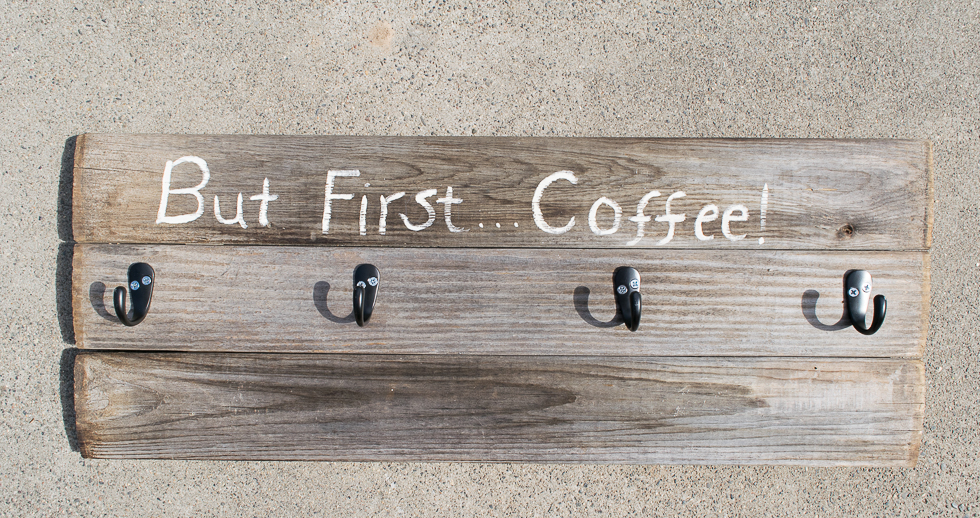
Concerning the backing, I am planning on leaning the mug rack against a tile backsplash so no hanging hooks were necessary. If you’re going to hang your rack on a wall, you could string a wire between the two top screws or use hanging hardware.
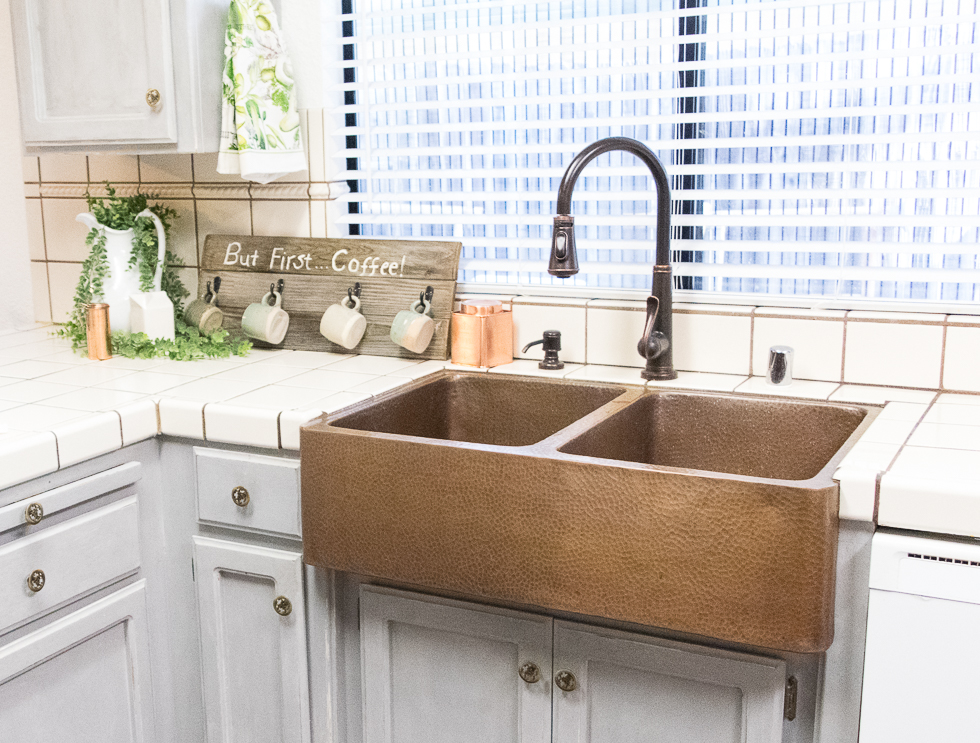
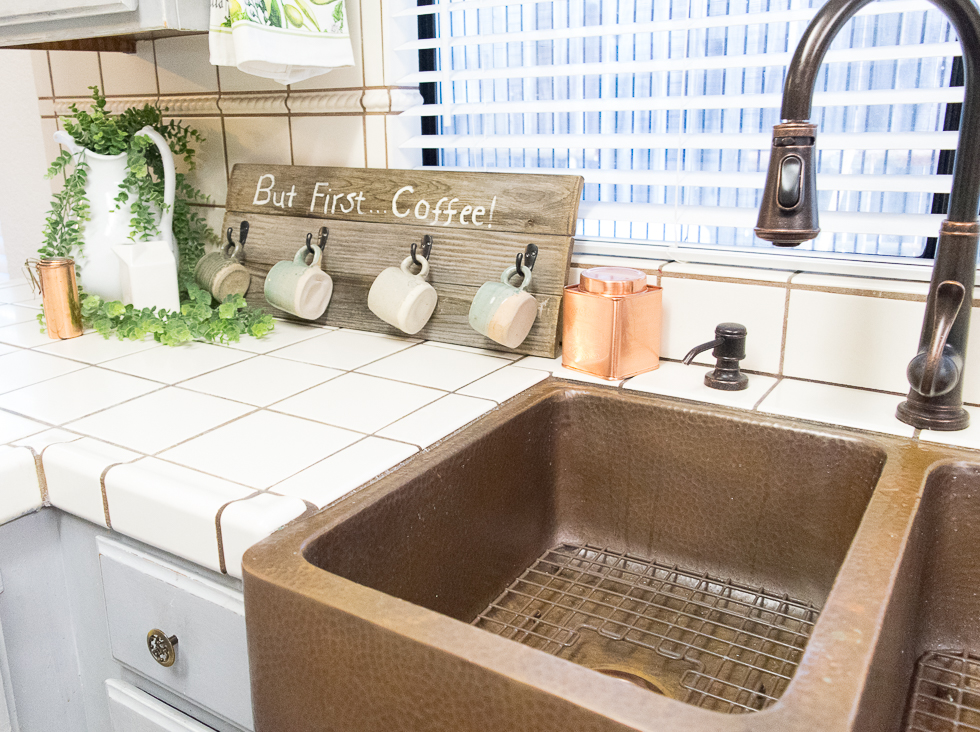
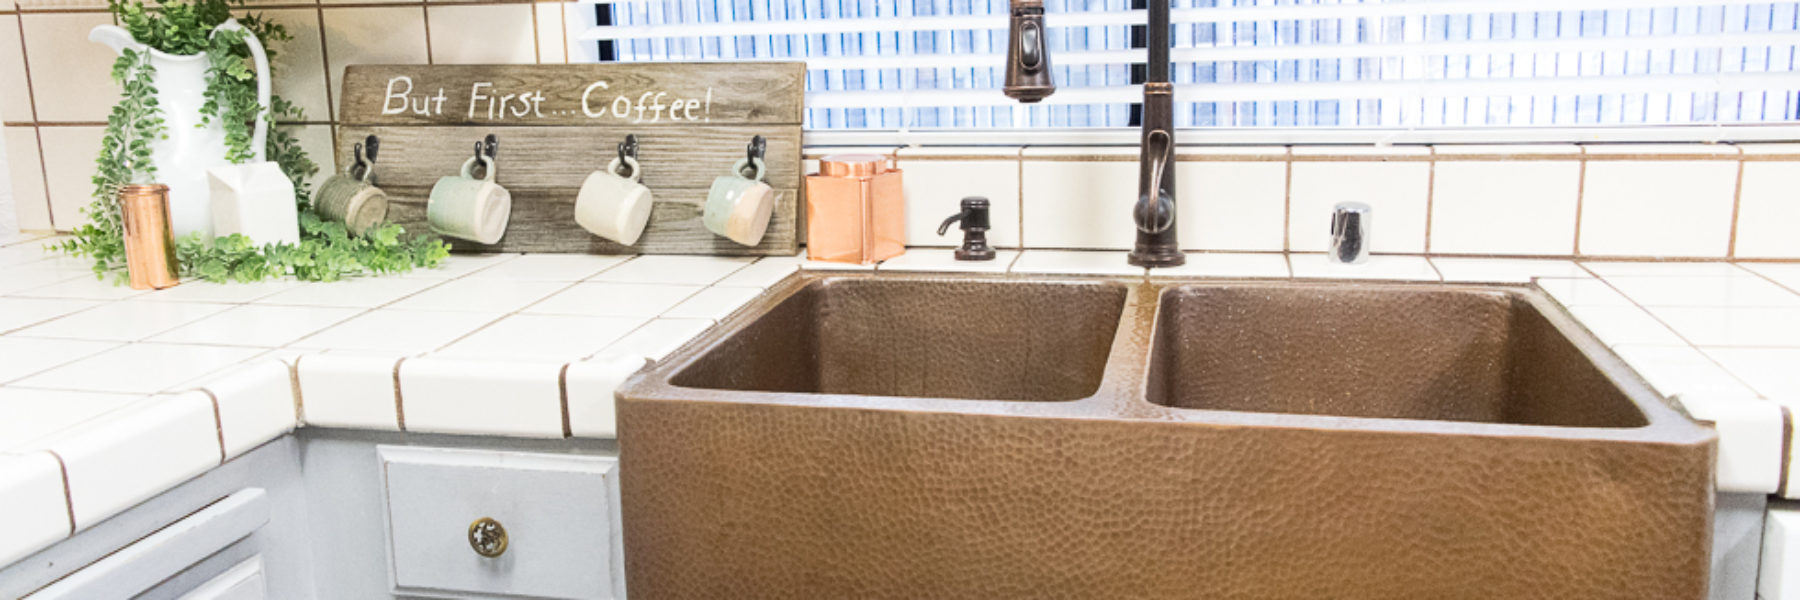
I wanted to use my new DIY Coffee Mug Rack next to my parent’s amazing Rockwell Farmhouse Apron Copper Sink. Click HERE to see more before and after photos of their kitchen transformation. The new coffee rack goes perfectly in this little spot next to this beautiful copper sink.
