DIY Copper Wire Art
If you’ve been looking to add a personalized touch to your decor, perhaps this little DIY is for you. It’s on the simple side, as far as crafts go. Even though it wasn’t difficult, I will be the first to admit that I ran into one or two hiccups along the way. My motto is “You did it yourself and it will probably show. Embrace the DIY life.” The goal, when I am working on a painting project or a craft like this, is not to reach perfection but rather strive to find a middle ground. I am particularly hard on myself so with each project I set out to simply appreciate and find beauty in all of the imperfections.
After a little brainstorming, I decided I wanted to make a copper wire heart with the word “home” on the side. Another word option could be your last name, initials of the one you love, a special date, anything not too lengthy will work. Even with it’s imperfections, I’m loving my new copper wire piece of personalize art.
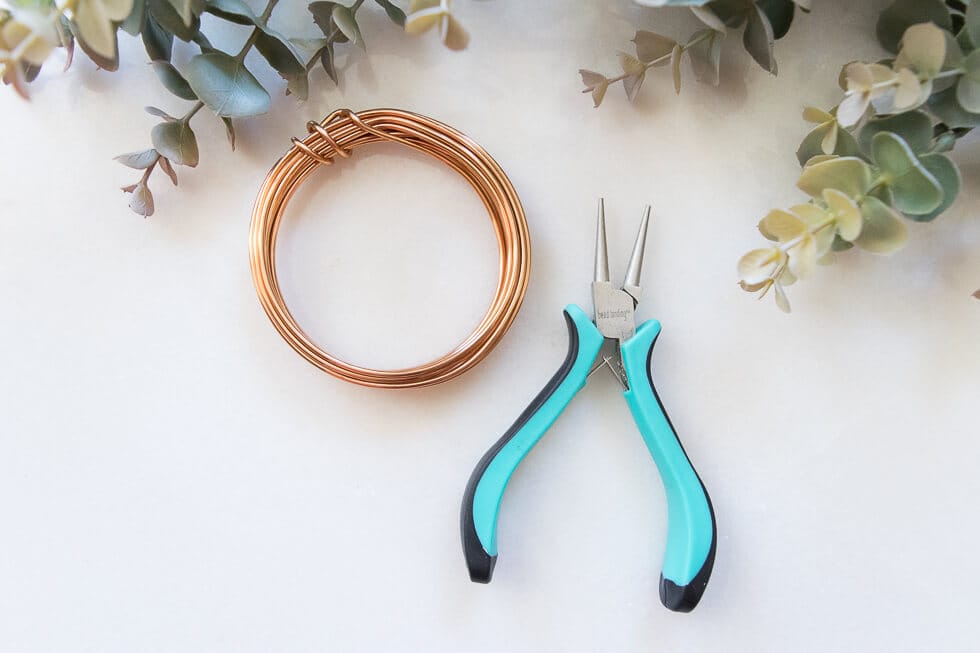
All you need to make one of these for yourself is the wire. I used 24-gauge copper wire. I found it in the jewelry section of a craft store. The needle nose pliers did not work out as well as I thought they would. When I used them they scratched the copper off and dented the wire. I wrapped some painters tape around the noses and that didn’t help. I ended up using my hands as the main tool.
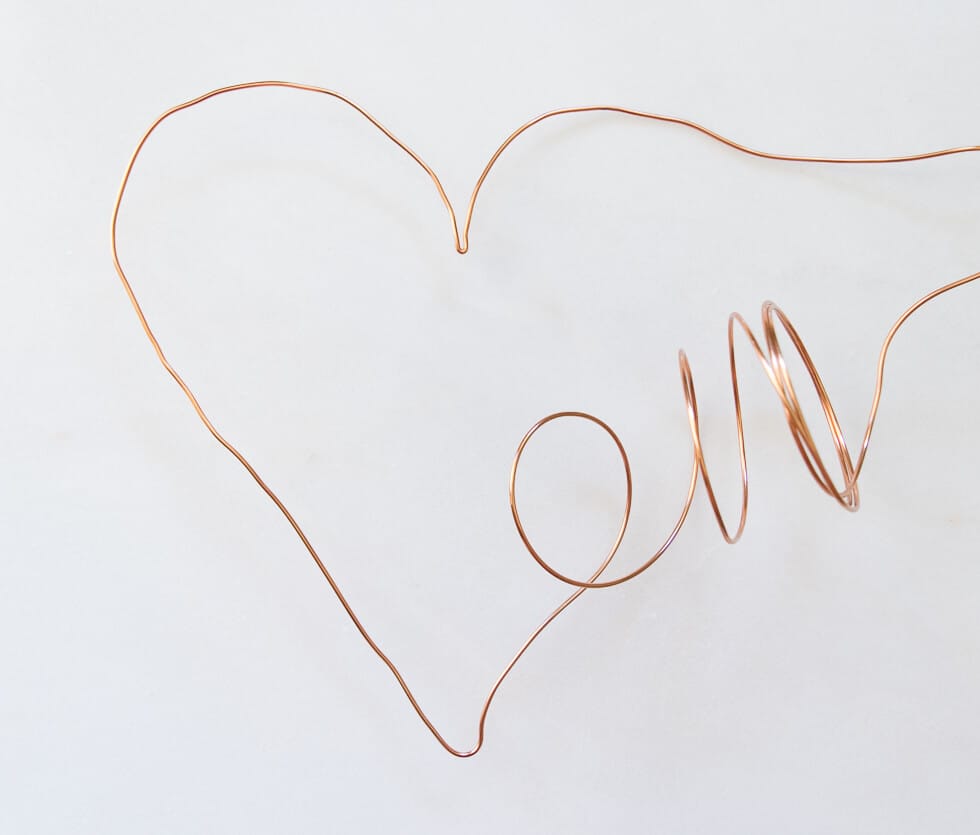
The first step I took was to mold the heart portion. I left a large amount of extra wire on the bottom and a little extra on the top. For the second step, I used the extra wire on the lower part of the heart to sculpt the word “home” on the right side.
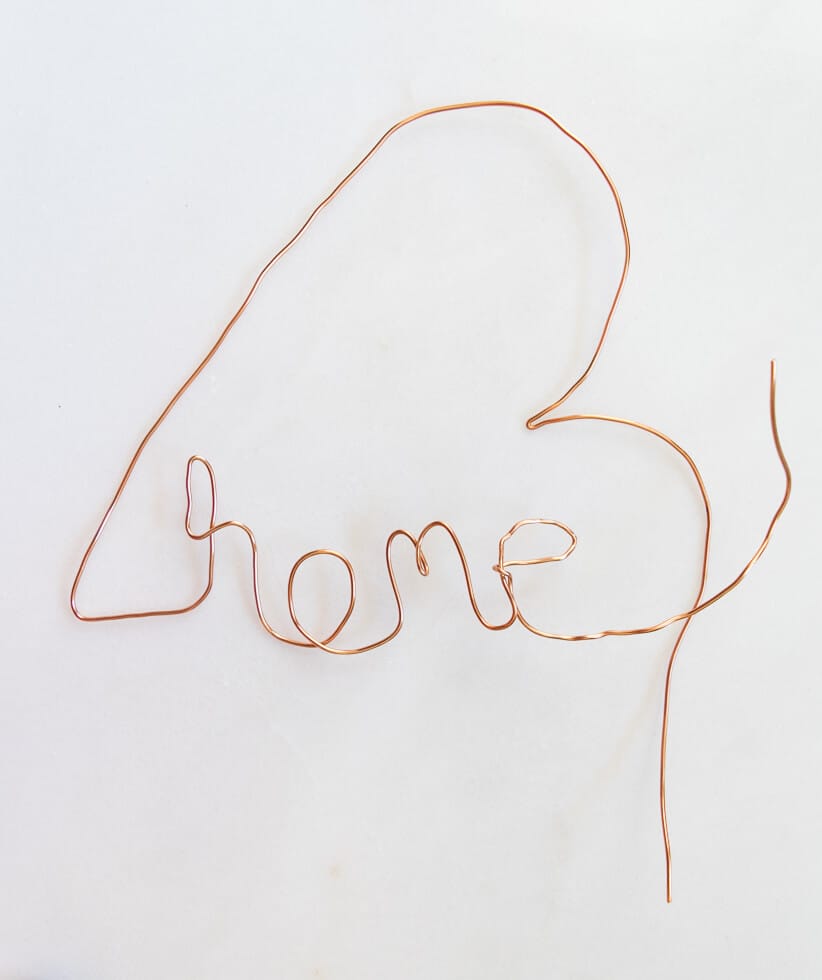
There is no special method or way to bend or twist the wire to make the letters. It depends on what style of font you want to achieve. Of course, it will resemble cursive, but you can tweak it anyway you would like.
This is after a little bit more bending and molding. My suggestion would be to simply mold the wire until you are happy with the way it looks.
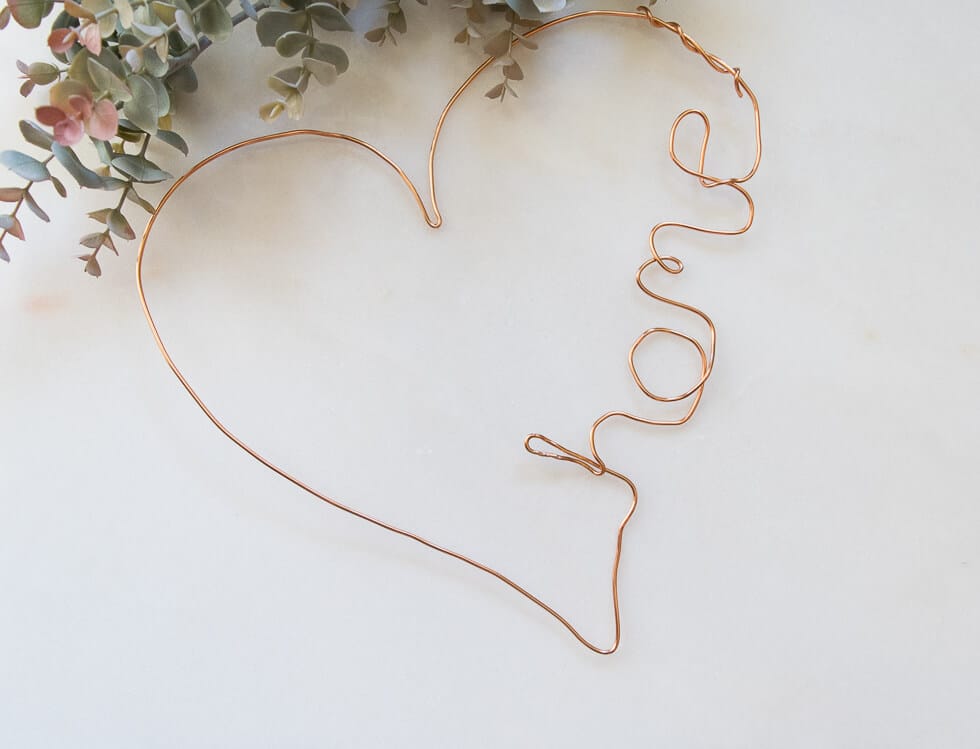
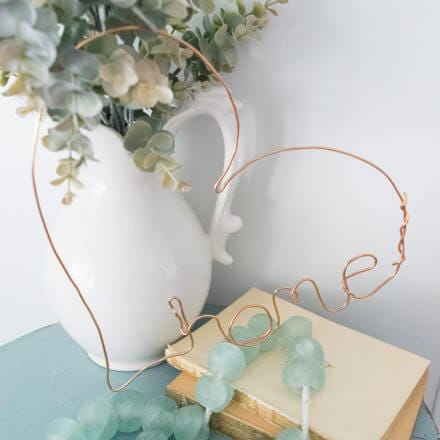
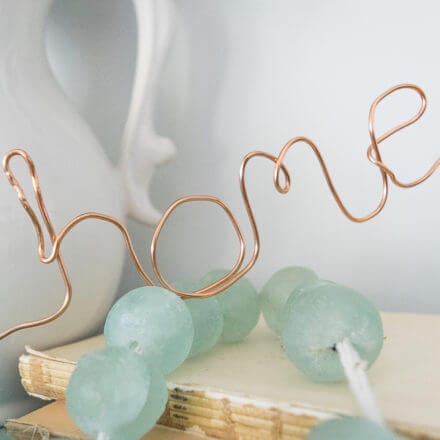
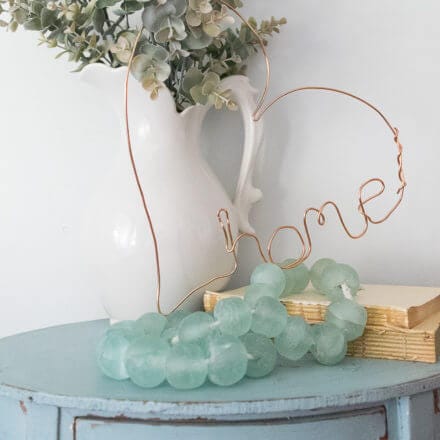
Here’s my finished product. I worked a long time on the “e” and still could have kept trying to get it perfect. Also, you can see on the “h” where the needle nose pliers made some dents. This is the part where I repeat my motto to myself “You made it yourself and it will probably show.”
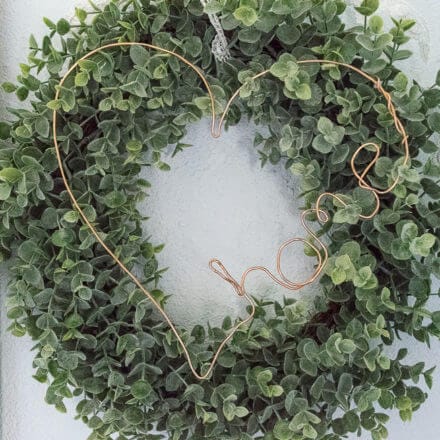
Perhaps you would like to hang your new copper artwork on a wreath like I did in the next photo.
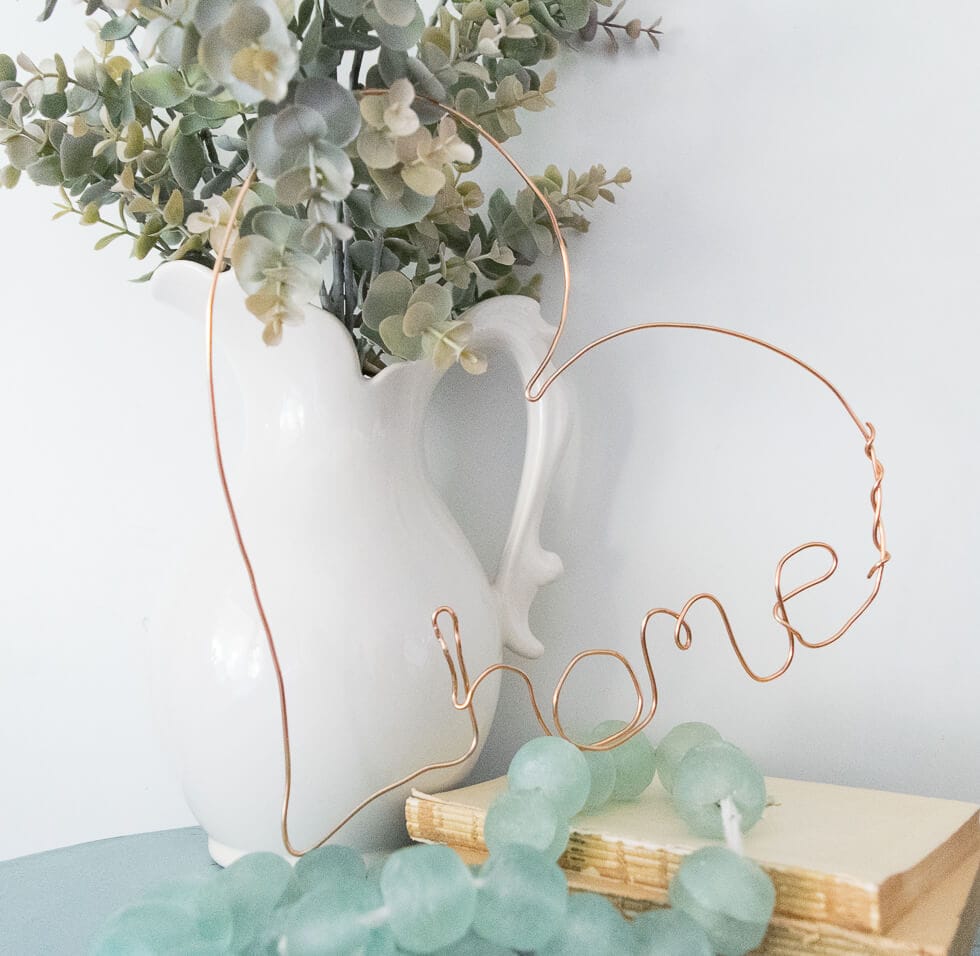
I absolutely love the way copper blends with the colors: blue, green, and white. I can’t think of anything more beautiful than blue glass beads, ironstone, a little greenery and copper. I hope you give this little DIY a try!
You Might Also Like:
Home Décor DIY: Happy Fall Sign to Welcome Guests
Holiday DIY: Copper Wire Gift Tags and Ornaments
DIY Fence Decor with Blue Glass and Copper
If you have any additional questions during your search for the perfect copper, fireclay farmhouse sink or crafted stainless steel sink, our Sinkologists™ are here to help. Contact us or follow us on Facebook, Houzz, Pinterest, Instagram, or TikTok for more helpful tips and design ideas.