DIY American Flag
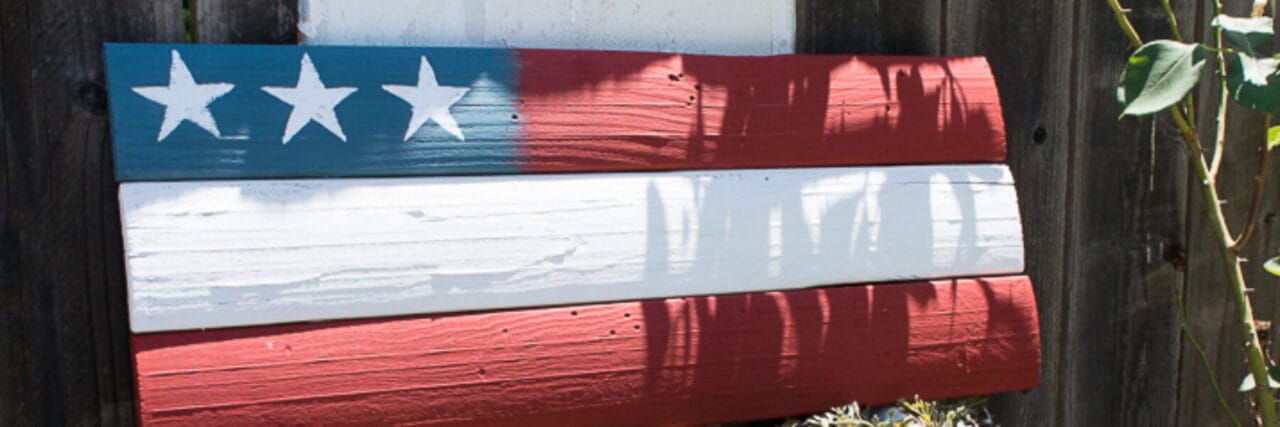
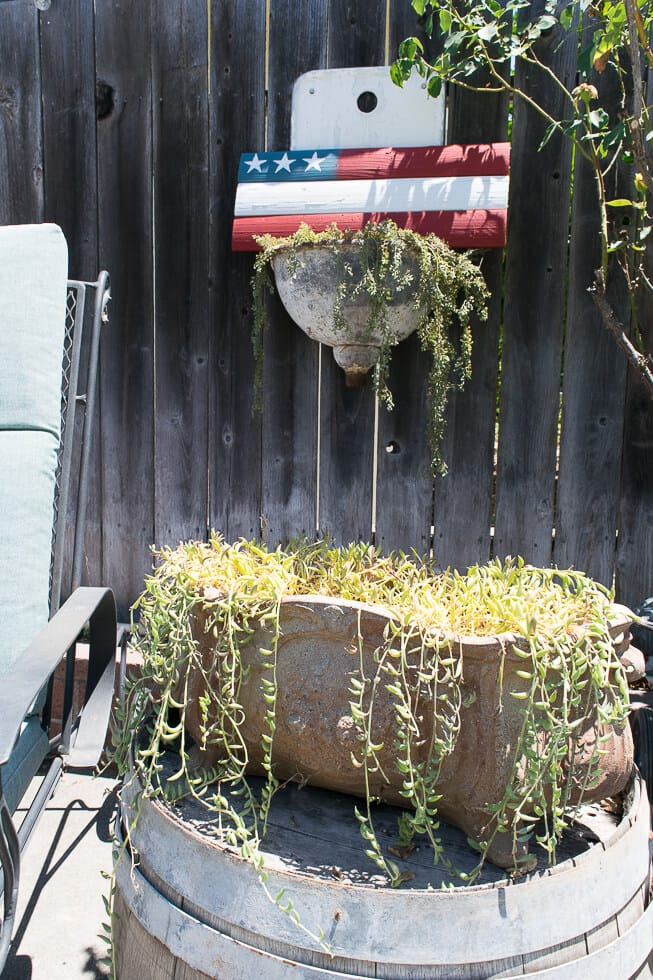
I’m here to bring you another DIY that you just have to try! A few years ago, I turned three mason jars into an American Flag. It was a cute patriotic craft that I still bring out and display around this time of year. But as cute as it was, it wasn’t as simple as this American Flag DIY.
Just a few weeks ago, I blogged on how to make a DIY coffee mug rack. For this project, I am going to be using the same type of wood. This American Flag is going to be relatively small and not a replica of an American Flag but rather a fun, simple, DIY flag.
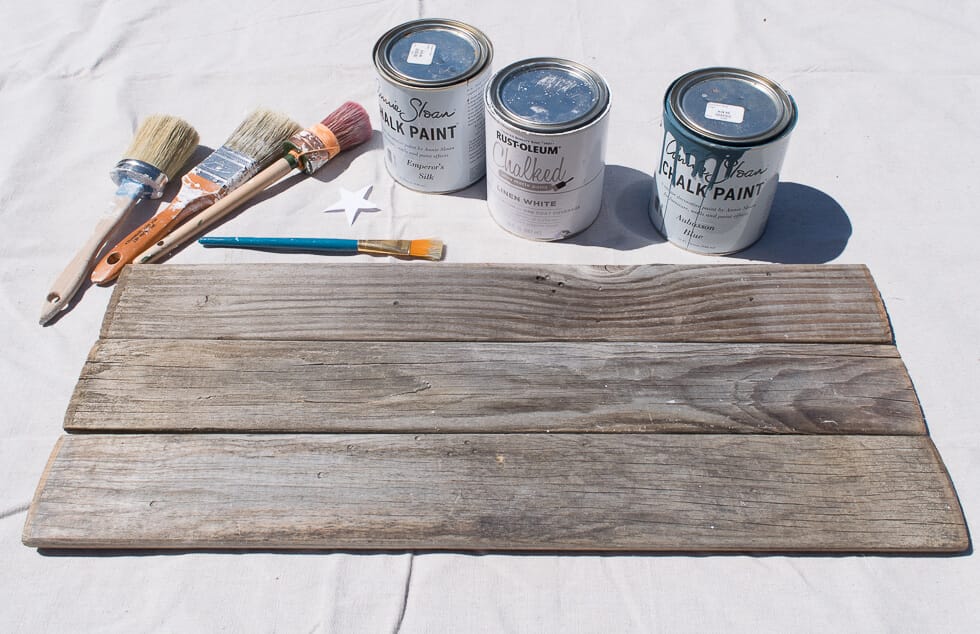
What you’ll need to make an American Flag:
Paint – Red, White, and Blue. I used chalk paint but most any type of craft paint will suffice.
Wood – 3 pieces of wood. The wood I used was salvaged from an old wine barrel. Each slat was about 3″x25″ but you can use any size. You can make your flag as big or as small as you’d like.
Stencil – A 1″ to 2″ star cut out or stencil. I found an image online, printed it and cut it out.
A pencil for outlining the star.
Paint Brushes – I used 3 large brushes and 1 small brush.
Screws and wood for backing.
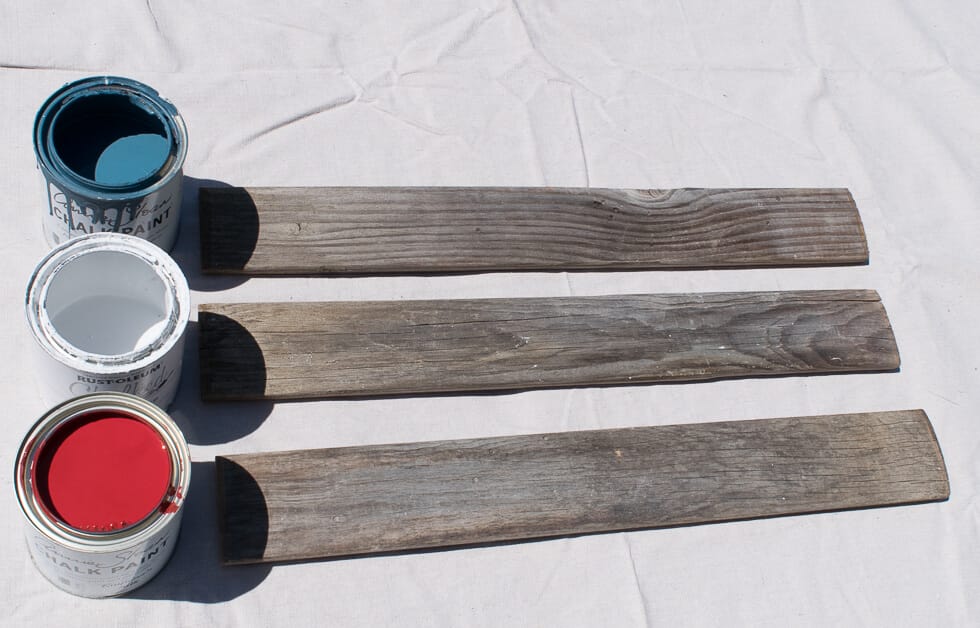
How to make an American Flag:
The first step in making an American Flag is to paint each slat. Paint the top slat 1/3 blue and 2/3 red, the middle slat white and the bottom slat red. I used a different paintbrush for each color so that I wouldn’t have to wash my brush between colors. And the last thing you want is a little red paint residue mixing with your white stripe.
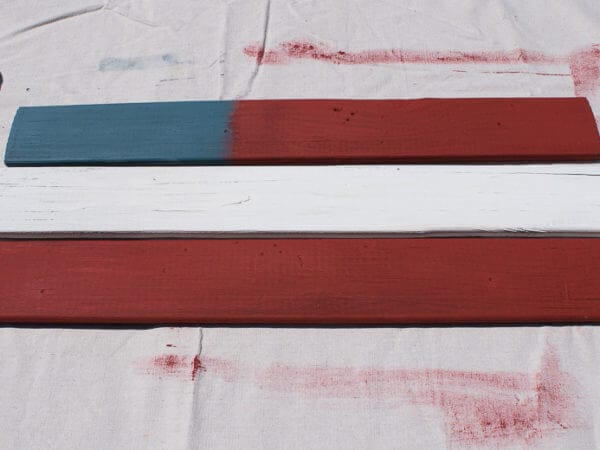
Now you immediately have what looks like the beginning of an American Flag. Take the next 30 minutes or so and do the dishes, watch a show, or take a quick nap. You can’t move on to the next step until your slats are completely dry.
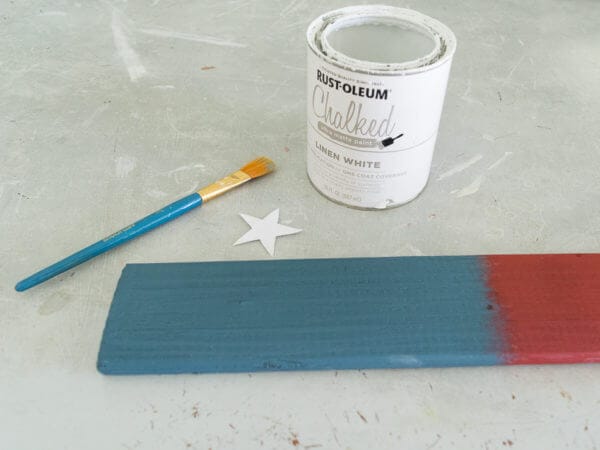
Once everything is dry, it’s time to paint some beautiful white stars. Use a pencil to outline the stars on the blue painted portion. I was able to fit three small stars across the blue.
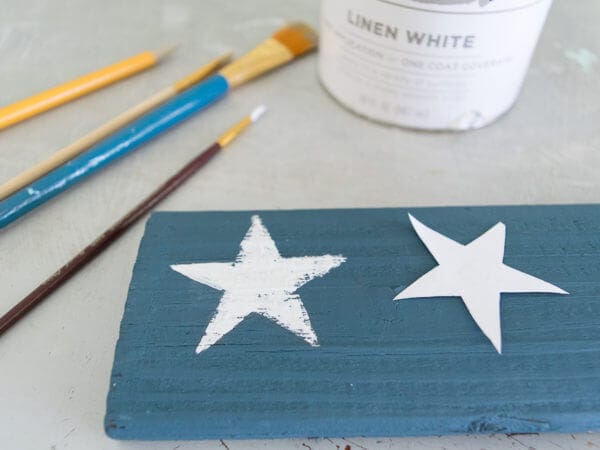
Once you have it outlined, fill it in with your white paint with a tiny brush. Once the stars are completely dry, lay the slats out and see how it looks.
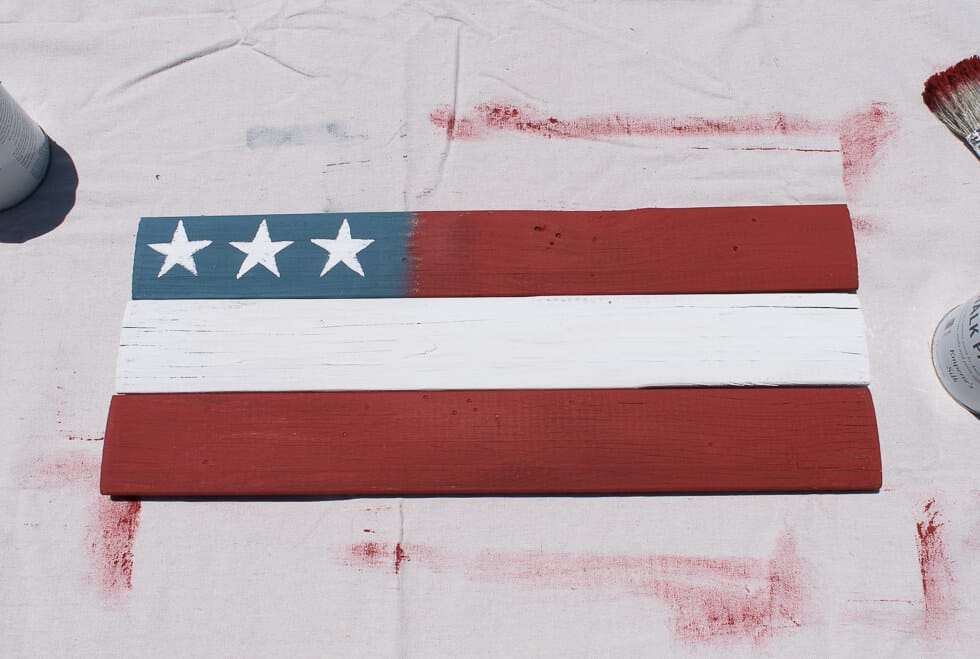
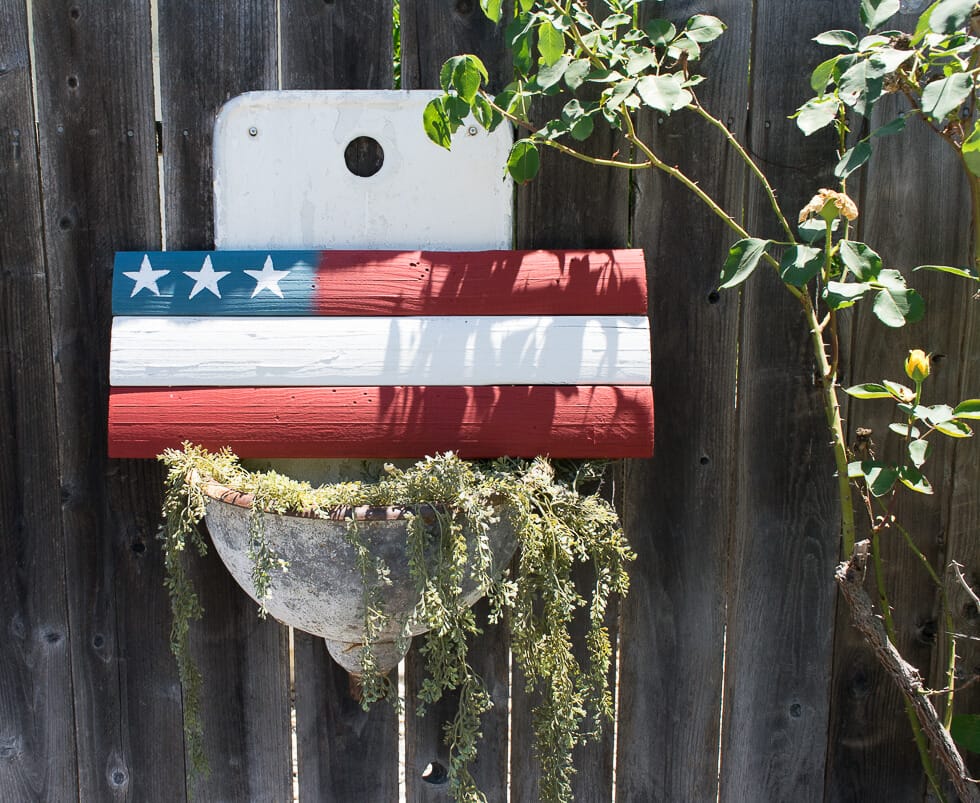
If you’re happy with your paint job, flip the slats over. Lay the reinforcement wood in the middle and drill a screw into each slat. After you attach the backing, you’re finished!
You Might Also Like:
10 Easy Ways to Repurpose Scrap Wood
Budget Farmhouse Kitchen Makeover Reveal
If you have any additional questions during your search for the perfect copper, fireclay farmhouse sink or crafted stainless steel sink, our Sinkologists™ are here to help. Contact us or follow us on Facebook, Houzz, Pinterest, Instagram, or TikTok for more helpful tips and design ideas.